We make one modification to it: Place a Conv1d layer right after
the embedding layer.
When using Chinese characters as modelling unit, whose vocabulary size
is 4336 in this specific dataset,
the number of parameters of the model is 87939824, i.e., about 88M.
Furthermore, it supports modifiedtransducer, limiting the maximum
number of symbols that can be emitted per frame to 1, which simplifies
the decoding process significantly. Also, the experiment results
show that it does not degrade the performance.
shows you the training options that can be passed from the commandline.
The following options are used quite often:
--exp-dir
The experiment folder to save logs and model checkpoints,
defaults to ./transducer_stateless_modified/exp.
--num-epochs
It is the number of epochs to train. For instance,
./transducer_stateless_modified/train.py--num-epochs30 trains for 30
epochs and generates epoch-0.pt, epoch-1.pt, …, epoch-29.pt
in the folder set by --exp-dir.
--start-epoch
It’s used to resume training.
./transducer_stateless_modified/train.py--start-epoch10 loads the
checkpoint from exp_dir/epoch-9.pt and starts
training from epoch 10, based on the state from epoch 9.
--world-size
It is used for single-machine multi-GPU DDP training.
If it is 1, then no DDP training is used.
If it is 2, then GPU 0 and GPU 1 are used for DDP training.
The following shows some use cases with it.
Use case 1: You have 4 GPUs, but you only want to use GPU 0 and
GPU 2 for training. You can do the following:
Only single-machine multi-GPU DDP training is implemented at present.
There is an on-going PR https://github.com/k2-fsa/icefall/pull/63
that adds support for multi-machine multi-GPU DDP training.
--max-duration
It specifies the number of seconds over all utterances in a
batch before padding.
If you encounter CUDA OOM, please reduce it. For instance, if
your are using V100 NVIDIA GPU with 32 GB RAM, we recommend you
to set it to 300 when the vocabulary size is 500.
Hint
Due to padding, the number of seconds of all utterances in a
batch will usually be larger than --max-duration.
A larger value for --max-duration may cause OOM during training,
while a smaller value may increase the training time. You have to
tune it.
--lr-factor
It controls the learning rate. If you use a single GPU for training, you
may want to use a small value for it. If you use multiple GPUs for training,
you may increase it.
--context-size
It specifies the kernel size in the decoder. The default value 2 means it
functions as a tri-gram LM.
--modified-transducer-prob
It specifies the probability to use modified transducer loss.
If it is 0, then no modified transducer is used; if it is 1,
then it uses modified transducer loss for all batches. If it is
p, it applies modified transducer with probability p.
There are some training options, e.g.,
number of warmup steps,
that are not passed from the commandline.
They are pre-configured by the function get_params() in
transducer_stateless_modified/train.py
If you need to change them, please modify ./transducer_stateless_modified/train.py directly.
Caution
The training set is perturbed by speed with two factors: 0.9 and 1.1.
Each epoch actually processes 3x150==450 hours of data.
Training logs and checkpoints are saved in the folder set by --exp-dir
(defaults to transducer_stateless_modified/exp). You will find the following files in that directory:
epoch-0.pt, epoch-1.pt, …
These are checkpoint files, containing model state_dict and optimizer state_dict.
To resume training from some checkpoint, say epoch-10.pt, you can use:
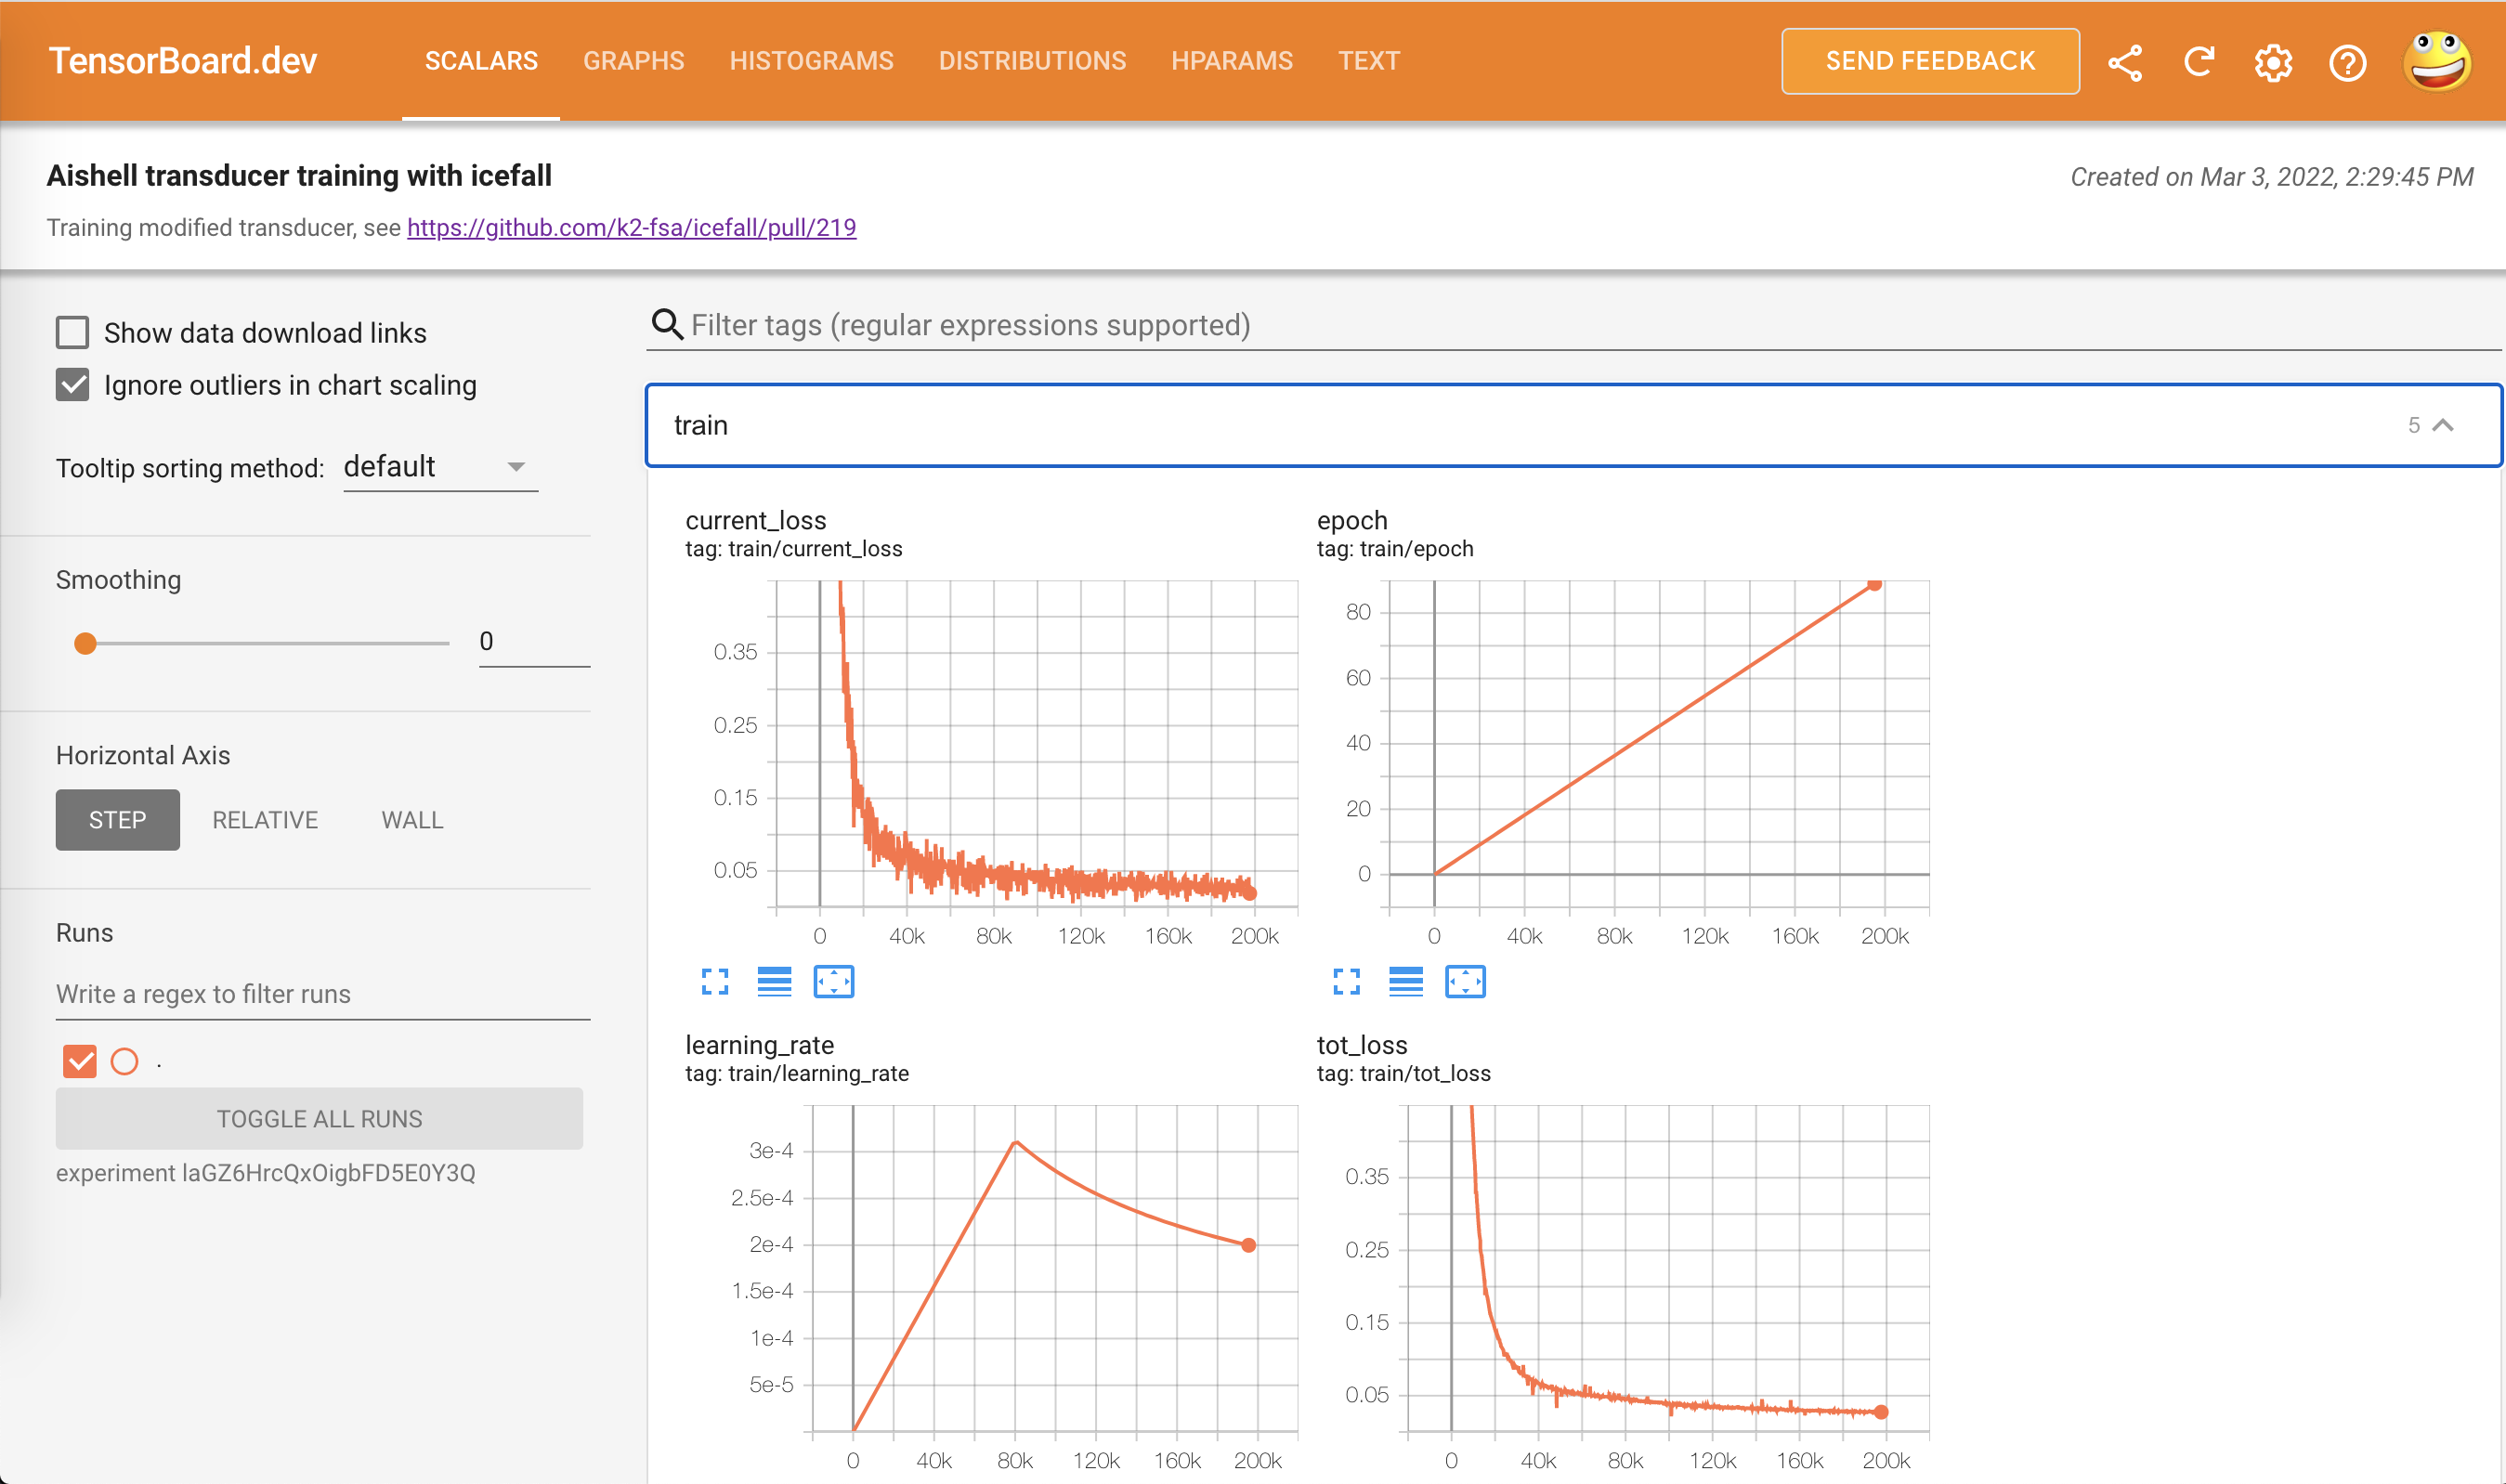
This folder contains TensorBoard logs. Training loss, validation loss, learning
rate, etc, are recorded in these logs. You can visualize them by:
$cdtransducer_stateless_modified/exp/tensorboard
$tensorboarddevupload--logdir.--name"Aishell transducer training with icefall"--description"Training modified transducer, see https://github.com/k2-fsa/icefall/pull/219"
It will print something like below:
TensorFlowinstallationnotfound-runningwithreducedfeatureset.Uploadstartedandwillcontinuereadinganynewdataasit's added to the logdir.Tostopuploading,pressCtrl-C.Newexperimentcreated.ViewyourTensorBoardat:https://tensorboard.dev/experiment/laGZ6HrcQxOigbFD5E0Y3Q/[2022-03-03T14:29:45]Startedscanninglogdir.[2022-03-03T14:29:48]Totaluploaded:8477scalars,0tensors,0binaryobjectsListeningfornewdatainlogdir...
Note there is a URL in the
above output, click it and you will see the following screenshot:
This specifies the decoding method. Currently, it supports:
greedy_search. You can provide the commandline option --max-sym-per-frame
to limit the maximum number of symbols that can be emitted per frame.
beam_search. You can provide the commandline option --beam-size.
modified_beam_search. You can also provide the commandline option --beam-size.
To use this method, we assume that you have trained your model with modified transducer,
i.e., used the option --modified-transducer-prob in the training.
The following command uses greedy search for decoding
It has the same meaning as the one used in training. A larger
value may cause OOM.
--epoch
It specifies the checkpoint from which epoch that should be used for decoding.
--avg
It specifies the number of models to average. For instance, if it is 3 and if
--epoch=10, then it averages the checkpoints epoch-8.pt, epoch-9.pt,
and epoch-10.pt and the averaged checkpoint is used for decoding.
After decoding, you can find the decoding logs and results in exp_dir/log/<decoding_method>, e.g.,
exp_dir/log/greedy_search.
It contains language related files. You can find the vocabulary size in tokens.txt.
exp/pretrained.pt
It contains pre-trained model parameters, obtained by averaging
checkpoints from epoch-32.pt to epoch-64.pt.
Note: We have removed optimizer state_dict to reduce file size.
log
It contains decoding logs and decoded results.
test_wavs
It contains some test sound files from Aishell test dataset.
The information of the test sound files is listed below:
$ cd egs/aishell/ASR
$ ./transducer_stateless_modified/pretrained.py --help
displays the help information.
It supports three decoding methods:
greedy search
beam search
modified beam search
Note
In modified beam search, it limits the maximum number of symbols that can be
emitted per frame to 1. To use this method, you have to ensure that your model
has been trained with the option --modified-transducer-prob. Otherwise,
it may give you poor results.
2022-03-0315:35:26,531INFO[pretrained.py:239]device:cuda:02022-03-0315:35:26,994INFO[lexicon.py:176]Loadingpre-compiledtmp/icefall-aishell-transducer-stateless-modified-2022-03-01/data/lang_char/Linv.pt2022-03-0315:35:27,027INFO[pretrained.py:246]{'feature_dim':80,'encoder_out_dim':512,'subsampling_factor':4,'attention_dim':512,'nhead':8,'dim_feedforward':2048,'num_encoder_layers':12,'vgg_frontend':False,'env_info':{'k2-version':'1.13','k2-build-type':'Release','k2-with-cuda':True,'k2-git-sha1':'f4fefe4882bc0ae59af951da3f47335d5495ef71','k2-git-date':'Thu Feb 10 15:16:02 2022','lhotse-version':'1.0.0.dev+missing.version.file','torch-cuda-available':True,'torch-cuda-version':'10.2','python-version':'3.8','icefall-git-branch':'master','icefall-git-sha1':'50d2281-clean','icefall-git-date':'Wed Mar 2 16:02:38 2022','icefall-path':'/ceph-fj/fangjun/open-source-2/icefall-aishell','k2-path':'/ceph-fj/fangjun/open-source-2/k2-multi-datasets/k2/python/k2/__init__.py','lhotse-path':'/ceph-fj/fangjun/open-source-2/lhotse-aishell/lhotse/__init__.py','hostname':'de-74279-k2-train-2-0815224919-75d558775b-mmnv8','IP address':'10.177.72.138'},'sample_rate':16000,'checkpoint':'./tmp/icefall-aishell-transducer-stateless-modified-2022-03-01/exp/pretrained.pt','lang_dir':PosixPath('tmp/icefall-aishell-transducer-stateless-modified-2022-03-01/data/lang_char'),'method':'greedy_search','sound_files':['./tmp/icefall-aishell-transducer-stateless-modified-2022-03-01/test_wavs/BAC009S0764W0121.wav','./tmp/icefall-aishell-transducer-stateless-modified-2022-03-01/test_wavs/BAC009S0764W0122.wav','./tmp/icefall-aishell-transducer-stateless-modified-2022-03-01/test_wavs/BAC009S0764W0123.wav'],'beam_size':4,'context_size':2,'max_sym_per_frame':3,'blank_id':0,'vocab_size':4336}2022-03-0315:35:27,027INFO[pretrained.py:248]Abouttocreatemodel2022-03-0315:35:36,878INFO[pretrained.py:257]ConstructingFbankcomputer2022-03-0315:35:36,880INFO[pretrained.py:267]Readingsoundfiles:['./tmp/icefall-aishell-transducer-stateless-modified-2022-03-01/test_wavs/BAC009S0764W0121.wav','./tmp/icefall-aishell-transducer-stateless-modified-2022-03-01/test_wavs/BAC009S0764W0122.wav','./tmp/icefall-aishell-transducer-stateless-modified-2022-03-01/test_wavs/BAC009S0764W0123.wav']2022-03-0315:35:36,891INFO[pretrained.py:273]Decodingstarted/ceph-fj/fangjun/open-source-2/icefall-aishell/egs/aishell/ASR/transducer_stateless_modified/conformer.py:113:UserWarning:__floordiv__isdeprecated,anditsbehaviorwillchangeinafutureversionofpytorch.Itcurrentlyroundstoward0(likethe'trunc'functionNOT'floor').Thisresultsinincorrectroundingfornegativevalues.Tokeepthecurrentbehavior,usetorch.div(a,b,rounding_mode='trunc'),orforactualfloordivision,usetorch.div(a,b,rounding_mode='floor').lengths=((x_lens-1)//2-1)//22022-03-0315:35:37,163INFO[pretrained.py:320]./tmp/icefall-aishell-transducer-stateless-modified-2022-03-01/test_wavs/BAC009S0764W0121.wav:甚至出现交易几乎停滞的情况./tmp/icefall-aishell-transducer-stateless-modified-2022-03-01/test_wavs/BAC009S0764W0122.wav:一二线城市虽然也处于调整中./tmp/icefall-aishell-transducer-stateless-modified-2022-03-01/test_wavs/BAC009S0764W0123.wav:但因为聚集了过多公共资源2022-03-0315:35:37,163INFO[pretrained.py:322]DecodingDone
2022-03-0315:39:09,285INFO[pretrained.py:239]device:cuda:02022-03-0315:39:09,708INFO[lexicon.py:176]Loadingpre-compiledtmp/icefall-aishell-transducer-stateless-modified-2022-03-01/data/lang_char/Linv.pt2022-03-0315:39:09,759INFO[pretrained.py:246]{'feature_dim':80,'encoder_out_dim':512,'subsampling_factor':4,'attention_dim':512,'nhead':8,'dim_feedforward':2048,'num_encoder_layers':12,'vgg_frontend':False,'env_info':{'k2-version':'1.13','k2-build-type':'Release','k2-with-cuda':True,'k2-git-sha1':'f4fefe4882bc0ae59af951da3f47335d5495ef71','k2-git-date':'Thu Feb 10 15:16:02 2022','lhotse-version':'1.0.0.dev+missing.version.file','torch-cuda-available':True,'torch-cuda-version':'10.2','python-version':'3.8','icefall-git-branch':'master','icefall-git-sha1':'50d2281-clean','icefall-git-date':'Wed Mar 2 16:02:38 2022','icefall-path':'/ceph-fj/fangjun/open-source-2/icefall-aishell','k2-path':'/ceph-fj/fangjun/open-source-2/k2-multi-datasets/k2/python/k2/__init__.py','lhotse-path':'/ceph-fj/fangjun/open-source-2/lhotse-aishell/lhotse/__init__.py','hostname':'de-74279-k2-train-2-0815224919-75d558775b-mmnv8','IP address':'10.177.72.138'},'sample_rate':16000,'checkpoint':'./tmp/icefall-aishell-transducer-stateless-modified-2022-03-01/exp/pretrained.pt','lang_dir':PosixPath('tmp/icefall-aishell-transducer-stateless-modified-2022-03-01/data/lang_char'),'method':'beam_search','sound_files':['./tmp/icefall-aishell-transducer-stateless-modified-2022-03-01/test_wavs/BAC009S0764W0121.wav','./tmp/icefall-aishell-transducer-stateless-modified-2022-03-01/test_wavs/BAC009S0764W0122.wav','./tmp/icefall-aishell-transducer-stateless-modified-2022-03-01/test_wavs/BAC009S0764W0123.wav'],'beam_size':4,'context_size':2,'max_sym_per_frame':3,'blank_id':0,'vocab_size':4336}2022-03-0315:39:09,760INFO[pretrained.py:248]Abouttocreatemodel2022-03-0315:39:18,919INFO[pretrained.py:257]ConstructingFbankcomputer2022-03-0315:39:18,922INFO[pretrained.py:267]Readingsoundfiles:['./tmp/icefall-aishell-transducer-stateless-modified-2022-03-01/test_wavs/BAC009S0764W0121.wav','./tmp/icefall-aishell-transducer-stateless-modified-2022-03-01/test_wavs/BAC009S0764W0122.wav','./tmp/icefall-aishell-transducer-stateless-modified-2022-03-01/test_wavs/BAC009S0764W0123.wav']2022-03-0315:39:18,929INFO[pretrained.py:273]Decodingstarted/ceph-fj/fangjun/open-source-2/icefall-aishell/egs/aishell/ASR/transducer_stateless_modified/conformer.py:113:UserWarning:__floordiv__isdeprecated,anditsbehaviorwillchangeinafutureversionofpytorch.Itcurrentlyroundstoward0(likethe'trunc'functionNOT'floor').Thisresultsinincorrectroundingfornegativevalues.Tokeepthecurrentbehavior,usetorch.div(a,b,rounding_mode='trunc'),orforactualfloordivision,usetorch.div(a,b,rounding_mode='floor').lengths=((x_lens-1)//2-1)//22022-03-0315:39:21,046INFO[pretrained.py:320]./tmp/icefall-aishell-transducer-stateless-modified-2022-03-01/test_wavs/BAC009S0764W0121.wav:甚至出现交易几乎停滞的情况./tmp/icefall-aishell-transducer-stateless-modified-2022-03-01/test_wavs/BAC009S0764W0122.wav:一二线城市虽然也处于调整中./tmp/icefall-aishell-transducer-stateless-modified-2022-03-01/test_wavs/BAC009S0764W0123.wav:但因为聚集了过多公共资源2022-03-0315:39:21,047INFO[pretrained.py:322]DecodingDone
2022-03-0315:41:23,319INFO[pretrained.py:239]device:cuda:02022-03-0315:41:23,798INFO[lexicon.py:176]Loadingpre-compiledtmp/icefall-aishell-transducer-stateless-modified-2022-03-01/data/lang_char/Linv.pt2022-03-0315:41:23,831INFO[pretrained.py:246]{'feature_dim':80,'encoder_out_dim':512,'subsampling_factor':4,'attention_dim':512,'nhead':8,'dim_feedforward':2048,'num_encoder_layers':12,'vgg_frontend':False,'env_info':{'k2-version':'1.13','k2-build-type':'Release','k2-with-cuda':True,'k2-git-sha1':'f4fefe4882bc0ae59af951da3f47335d5495ef71','k2-git-date':'Thu Feb 10 15:16:02 2022','lhotse-version':'1.0.0.dev+missing.version.file','torch-cuda-available':True,'torch-cuda-version':'10.2','python-version':'3.8','icefall-git-branch':'master','icefall-git-sha1':'50d2281-clean','icefall-git-date':'Wed Mar 2 16:02:38 2022','icefall-path':'/ceph-fj/fangjun/open-source-2/icefall-aishell','k2-path':'/ceph-fj/fangjun/open-source-2/k2-multi-datasets/k2/python/k2/__init__.py','lhotse-path':'/ceph-fj/fangjun/open-source-2/lhotse-aishell/lhotse/__init__.py','hostname':'de-74279-k2-train-2-0815224919-75d558775b-mmnv8','IP address':'10.177.72.138'},'sample_rate':16000,'checkpoint':'./tmp/icefall-aishell-transducer-stateless-modified-2022-03-01/exp/pretrained.pt','lang_dir':PosixPath('tmp/icefall-aishell-transducer-stateless-modified-2022-03-01/data/lang_char'),'method':'modified_beam_search','sound_files':['./tmp/icefall-aishell-transducer-stateless-modified-2022-03-01/test_wavs/BAC009S0764W0121.wav','./tmp/icefall-aishell-transducer-stateless-modified-2022-03-01/test_wavs/BAC009S0764W0122.wav','./tmp/icefall-aishell-transducer-stateless-modified-2022-03-01/test_wavs/BAC009S0764W0123.wav'],'beam_size':4,'context_size':2,'max_sym_per_frame':3,'blank_id':0,'vocab_size':4336}2022-03-0315:41:23,831INFO[pretrained.py:248]Abouttocreatemodel2022-03-0315:41:32,214INFO[pretrained.py:257]ConstructingFbankcomputer2022-03-0315:41:32,215INFO[pretrained.py:267]Readingsoundfiles:['./tmp/icefall-aishell-transducer-stateless-modified-2022-03-01/test_wavs/BAC009S0764W0121.wav','./tmp/icefall-aishell-transducer-stateless-modified-2022-03-01/test_wavs/BAC009S0764W0122.wav','./tmp/icefall-aishell-transducer-stateless-modified-2022-03-01/test_wavs/BAC009S0764W0123.wav']2022-03-0315:41:32,220INFO[pretrained.py:273]Decodingstarted/ceph-fj/fangjun/open-source-2/icefall-aishell/egs/aishell/ASR/transducer_stateless_modified/conformer.py:113:UserWarning:__floordiv__isdeprecated,anditsbehaviorwillchangeinafutureversionofpytorch.Itcurrentlyroundstoward0(likethe'trunc'functionNOT'floor').Thisresultsinincorrectroundingfornegativevalues.Tokeepthecurrentbehavior,usetorch.div(a,b,rounding_mode='trunc'),orforactualfloordivision,usetorch.div(a,b,rounding_mode='floor').lengths=((x_lens-1)//2-1)//2/ceph-fj/fangjun/open-source-2/icefall-aishell/egs/aishell/ASR/transducer_stateless_modified/beam_search.py:402:UserWarning:__floordiv__isdeprecated,anditsbehaviorwillchangeinafutureversionofpytorch.Itcurrentlyroundstoward0(likethe'trunc'functionNOT'floor').Thisresultsinincorrectroundingfornegativevalues.Tokeepthecurrentbehavior,usetorch.div(a,b,rounding_mode='trunc'),orforactualfloordivision,usetorch.div(a,b,rounding_mode='floor').topk_hyp_indexes=topk_indexes//logits.size(-1)2022-03-0315:41:32,583INFO[pretrained.py:320]./tmp/icefall-aishell-transducer-stateless-modified-2022-03-01/test_wavs/BAC009S0764W0121.wav:甚至出现交易几乎停滞的情况./tmp/icefall-aishell-transducer-stateless-modified-2022-03-01/test_wavs/BAC009S0764W0122.wav:一二线城市虽然也处于调整中./tmp/icefall-aishell-transducer-stateless-modified-2022-03-01/test_wavs/BAC009S0764W0123.wav:但因为聚集了过多公共资源2022-03-0315:41:32,583INFO[pretrained.py:322]DecodingDone